
APEX 5.1 NF : Show Custom Application Icons in the APEX Builder

It just isn't fair. If you install a Packaged Application - and you should because there is a lot to learn from those apps - in your APEX Workspace they all have a cool looking icon. And your own applications, just show up with two characters in a (random?) coloured box. Why can't I have a nice looking icon for my application?


In APEX 5.1 you can!
Upload an image as a Static Application File. According to the help it should by 64 x 64 pixels, but I noticed it can be larger as well. It should be square though to show up nicely. Don't put it in a (sub)directory, it should be placed in the 'root' folder.


Then edit the Application Definition (either via Shared Components > Application Definition Attributes or by clicking on the "Edit Application Attributes" on the Application Builder home screen. Then scroll down until you see the "Icon File Name" property. Enter the name of the uploaded file there - but don't reference #APP_IMAGES# as you're used to! 


Now switch back to the APEX App Builder Home screen ... and your application is there with your custom application icon!


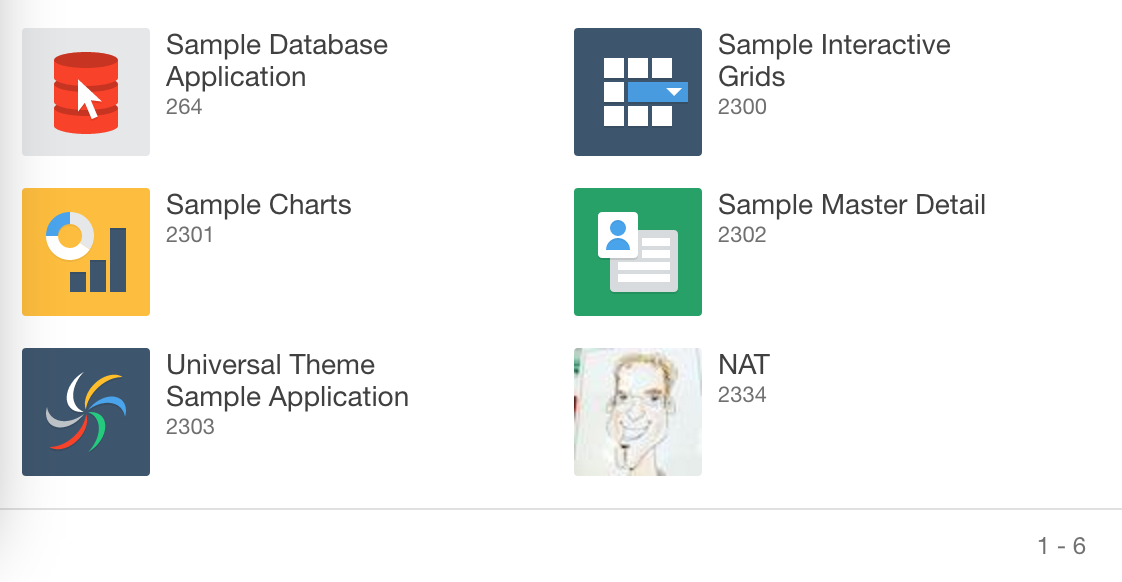
So in 5.1 there's no difference anymore in the presentation of Packaged Applications or your own... they can all look good!


Comments

Popular posts from this blog

apex_application.g_f0x array processing in Oracle 12

If you created your own "updatable reports" or your custom version of tabular forms in Oracle Application Express, you'll end up with a query that looks similar to this one: then you disable the " Escape special characters " property and the result is an updatable multirecord form. That was easy, right? But now we need to process the changes in the Ename column when the form is submitted, but only if the checkbox is checked. All the columns are submitted as separated arrays, named apex_application.g_f0x - where the "x" is the value of the "p_idx" parameter you specified in the apex_item calls. So we have apex_application.g_f01, g_f02 and g_f03. But then you discover APEX has the oddity that the "checkbox" array only contains values for the checked rows. Thus if you just check "Jones", the length of g_f02 is 1 and it contains only the empno of Jones - while the other two arrays will contain all (14) rows. So for

Filtering in the APEX Interactive Grid

Remember Oracle Forms? One of the nice features of Forms was the use of GLOBAL items. More or less comparable to Application Items in APEX. These GLOBALS where often used to pre-query data. For example you queried Employee 200 in Form A, then opened Form B and on opening that Form the Employee field is filled with that (GLOBAL) value of 200 and the query was executed. So without additional keys strokes or entering data, when switching to another Form a user would immediately see the data in the same context. And they loved that. In APEX you can create a similar experience using Application Items (or an Item on the Global Page) for Classic Reports (by setting a Default Value to a Search Item) and Interactive Reports (using the  APEX_IR.ADD_FILTER  procedure). But what about the Interactive Grid? There is no APEX_IG package ... so the first thing we have to figure out is how can we set a filter programmatically? Start with creating an Interactive Grid based upon the good old Employ

Stop using validations for checking constraints !

 If you run your APEX application - like a Form based on the EMP table - and test if you can change the value of Department to something else then the standard values of 10, 20, 30 or 40, you'll get a nice error message like this: But it isn't really nice, is it? So what do a lot of developers do? They create a validation (just) in order to show a nicer, better worded, error message like "This is not a valid department".  And what you then just did is writing code twice : Once in the database as a (foreign key) check constraint and once as a sql statement in your validation. And we all know : writing code twice is usually not a good idea - and executing the same query twice is not enhancing your performance! So how can we transform that ugly error message into something nice? By combining two APEX features: the Error Handling Function and the Text Messages! Start with copying the example of an Error Handling Function from the APEX documentation. Create this function